Getting started in 5 minutes
This guide provides a general overview of running smart contracts on the Gear network. It guides you through how to write a smart contract, compile it to WASM and deploy it to the Gear network.
For this example, a demo environment that emulates the real Gear decentralized network will be used.
Prerequisites
- For your convenience, it is recommended that you create a dedicated directory for everything Gear-related. The rest of the article will assume that you are using the paths suggested. To create a folder in your home directory and navigate to it, type:
mkdir -p gear
cd ~/gear
- Make sure you have installed all the tools required to build a smart-contract in Rust. Rustup will be used to get Rust compiler ready:
curl --proto '=https' --tlsv1.2 -sSf https://sh.rustup.rs | sh
- Now, let's install a
nightlybuild forrustup, sinceGearuses the most up-to-date featuresrustupprovides.
rustup update
rustup update nightly
- As we will be compiling our Rust smart contract to WASM, we will need a WASM compiler. Let's add it to the toolchain.
rustup target add wasm32-unknown-unknown --toolchain nightly
Note: If you use Windows, download and install Build Tools for Visual Studio.
Creating your first Gear smart contract
- Let's create a
contractsdirectory insidegearandcdto it.
mkdir -p ~/gear/contracts
cd ~/gear/contracts
- The next step would be to build a Rust library for our contract.
cargo new first-gear-app --lib
Now, your gear/contracts directory tree should look like this:
└── first-gear-app
    ├── Cargo.toml
    └── src
        └── lib.rs
- It's time to write some code. Open
first-gear-appwith your favorite editor. ForVS Codeeditor type:
code ~/gear/contracts/first-gear-app
- Create file
build.rswith the following code:
fn main() {
    gear_wasm_builder::build();
}
and configure Cargo.toml in order for our contract to be properly built:
[package]
name = "first-gear-app"
version = "0.1.0"
authors = ["Your Name"]
edition = "2021"

[dependencies]
gstd = { git = "https://github.com/gear-tech/gear.git", features = ["debug"] }

[build-dependencies]
gear-wasm-builder = { git = "https://github.com/gear-tech/gear.git" }

[dev-dependencies]
gtest = { git = "https://github.com/gear-tech/gear.git" }
- Replace the default contents of
lib.rswith the code for our first smart-contract. Opensrc/lib.rsin your editor and paste the following code:
#![no_std]

use gstd::{debug, msg, prelude::*};

static mut MESSAGE_LOG: Vec<String> = vec![];

#[no_mangle]
pub unsafe extern "C" fn handle() {
    let new_msg = String::from_utf8(msg::load_bytes()).expect("Invalid message");

    if new_msg == "PING" {
        msg::reply_bytes("PONG", 0).expect("Error in sending reply");
    }

    MESSAGE_LOG.push(new_msg);

    debug!("{:?} total message(s) stored: ", MESSAGE_LOG.len());

}
This simple smart-contract responds with PONG to a PING message sent to the contract.
- Now compile the smart-contract to WASM
cd ~/gear/contracts/first-gear-app/
cargo build --release
If everything goes well, your working directory should now have a target directory that looks like this:
target
    ├── CACHEDIR.TAG
    ├── release
    │   └── ...
    └── wasm32-unknown-unknown
        └── release
            ├── ...
            ├── first_gear_app.wasm      <---- this is our built .wasm file
            ├── first_gear_app.opt.wasm  <---- this is optimized .wasm file
            └── first_gear_app.meta.wasm <---- this is meta .wasm file
The target/wasm32-unknown-unknown/release directory contains three WASM binaries:
first_gear_app.wasmis the output WASM binary built from source filesfirst_gear_app.opt.wasmis the optimized WASM aimed to be uploaded to the blockchainfirst_gear_app.meta.wasmis the WASM containing meta information needed to interact with the program
Deploy your Smart Contract to the Testnet
Gear provides a demo environment that emulates the real Gear decentralized network, available in idea.gear-tech.io.
Create account
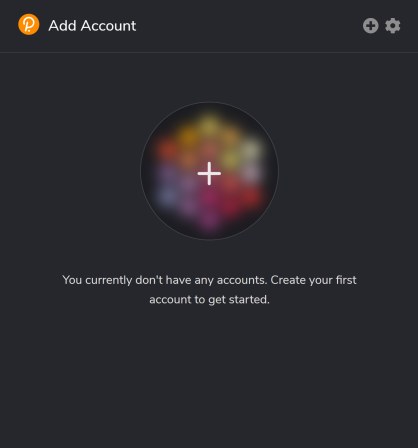
Download the Polkadot extension for your browser via https://polkadot.js.org/extension/. This extension manages accounts and allows the signing of transactions with those accounts. It is a secure tool that allows injecting your accounts into any Substrate-based dapp. It does not perform wallet functions, e.g send funds.
Once downloaded, click + button to create a new account:
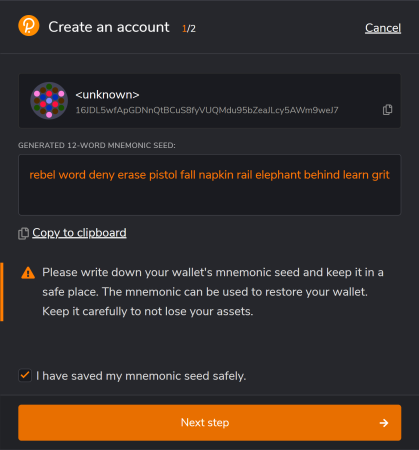
- Make sure you save your 12-word mnemonic seed securely.
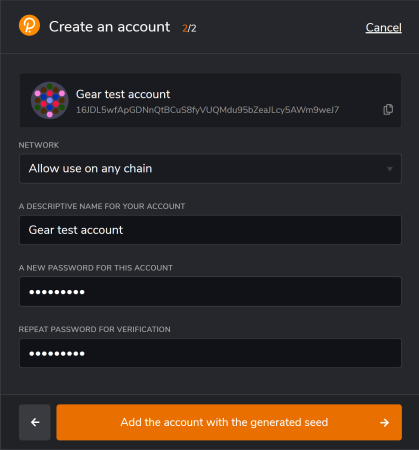
- Select the network that will be used for this account - choose "Allow to use on any chain". Provide any name to this account and password and click "Add the account with the generated seed" to complete account registration.
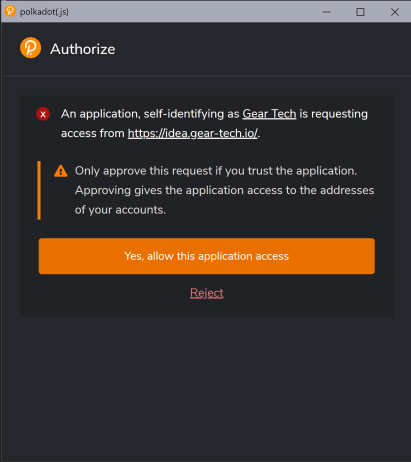
- Go to idea.gear-tech.io. You will be prompted to grant access to your account for Gear Tech application, click "Yes, allow this application access".
- Click the
Connectbutton on top-right to select an account that will be connected to Gear Tech.

- In accordance with the Actor model, smart contracts are uploaded to a network via messages. Gear node charges a gas fee during message processing (see also about gas). Your account balance needs to have enough funds to upload a smart-contract to the
TestNet. Click "Get test balance".

A notification about successful balance replenishment will appear at the bottom of the window. You can also see the current account balance next to the account name in the upper right corner.

Upload program
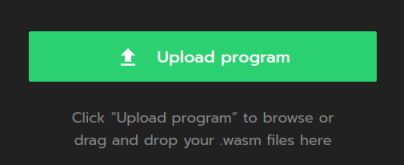
- When your account balance is sufficient, click the Upload program and navigate to the
.opt.wasmfile we have pointed to above.
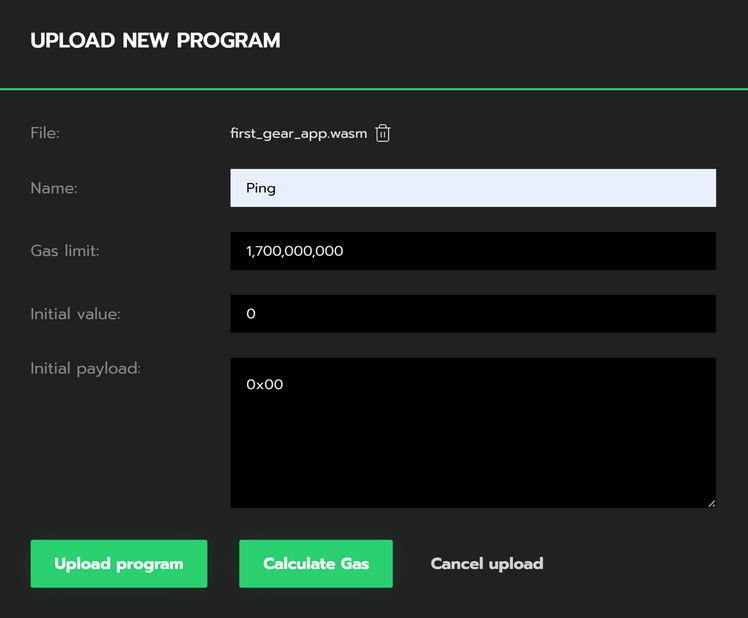
- Specify program Name and click Calculate Gas button. The Gas limit will be set automatically. Now click the Upload program button.
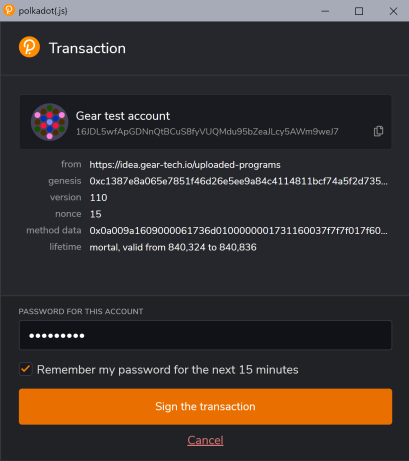
- Sign the program uploading the transaction to the Gear network. Also, sign in the program and meta data uploading to the Gear demo environment so you could work with the program. It is recommended to set the checkbox
Remember my password for the next 15 minutesfor your convenience.

The red dot status for a program indicates init failure. Try to upload the program again with increased Gas limit.
- Once your program is uploaded, head to the
Recently uploaded programssection and find your program.

Send message to a program
Now, try sending your newly uploaded program a message to see how it responds! Use this button:

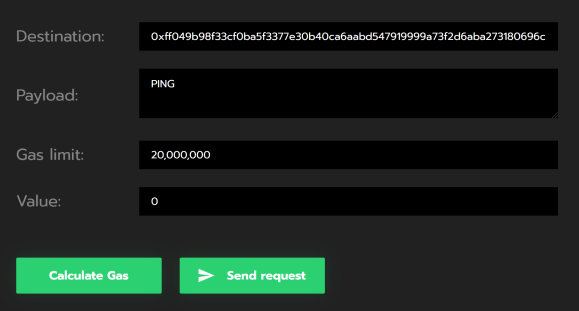
In the
Payloadfield of the opened dialog typePING. Click Calculate Gas button, the Gas limit will be set automatically. Now click the Send request button.
Sign the message sending transaction as it is shown in the step 3 of section Upload Program.
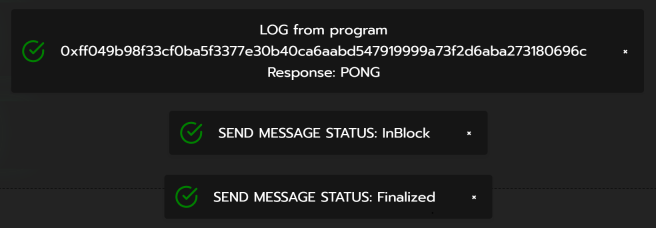
After your message has been successfully processed, the program responds with
PONG:
Further reading
In addition to this "Getting started in 5 minutes", you can refer to one more article that demonstrates the simplicity and convenience of creating applications on Gear Platform - The first smart contract on Rust for beginners. The article uses Voting application as an example, it describes the structure of Gear smart contracts, how to work with the actor model architecture of programs, process messages, and work with the state.
For more info about writing smart contracts for Gear and the specifics behind the smart contract implementation, refer to this article on Smart Contracts.